img2img
Allows you to use the image as an example for generation, regenerate an already generated image completely / in parts.
The interface is similar to txt2img, so I will only explain what is different.
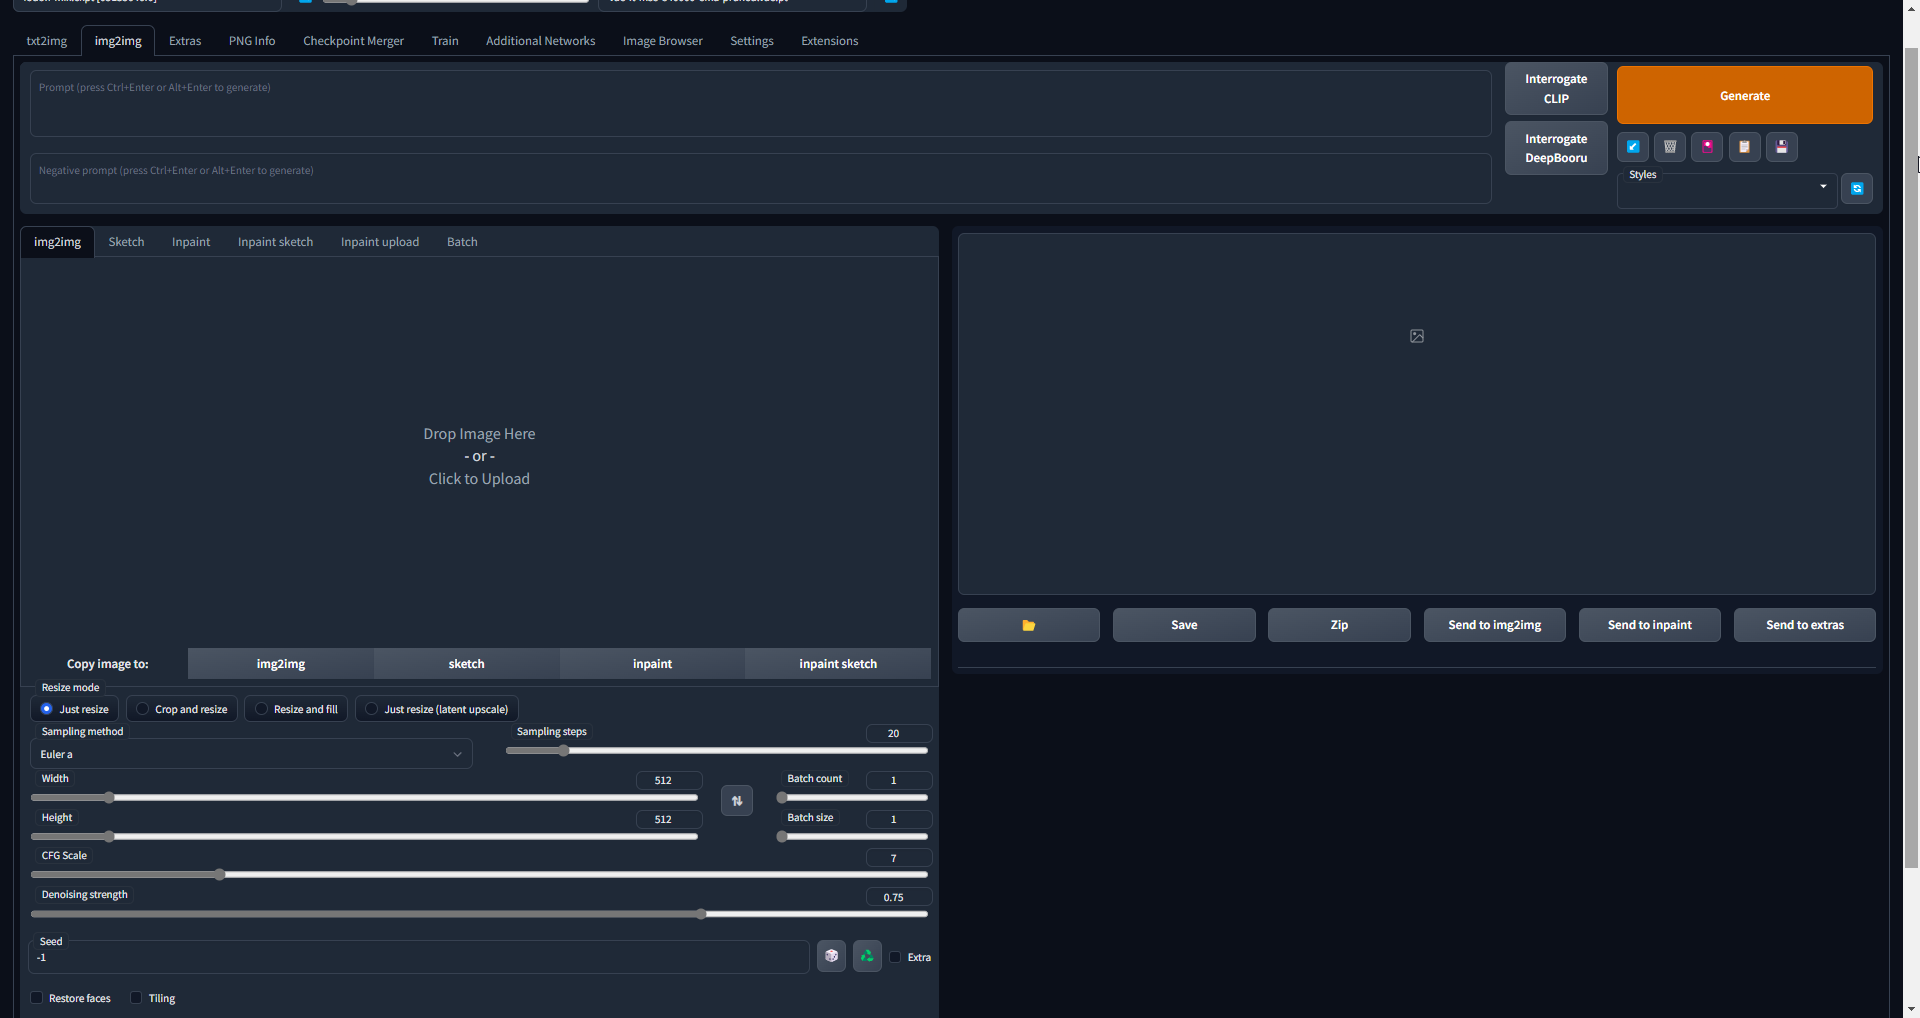
img2img settings
Resize mode
A way to change the size/ratio of the picture if it doesn't match the settings.
Denoising strength
Determines how little respect the algorithm should have for image's content. At 0, nothing will change, and at 1 you'll get an unrelated image. With values below 1.0, processing will take less steps than the Sampling Steps slider specifies.
It's simple:
- Write Prompts.
- Load a picture
- Adapt the generation sizes to the original image
- Adjust the denoising strength
- Generate
Inpaint
Very important and useful tab. Allows you to regenerate only part of the image. So you can fix problems like broken arms or add missing details.
Again, I'll only describe what is different.
Inpaint settings
There are not too many differences from img2img.
Mask blur
How much the edges of the mask we're going to draw will be blurred. I usually use 7, so you can't see the edges of the inpainted area.
Mask mode
Toggles what you want to inpaint: what is masked or what is not masked.
Masked content
What the SD will see on the masked area.= I suggest you look at the official example:

Inpaint area
When generating, it uses only the masked area and specified in Only masked padding, pixels amount of pixels around it.
- speeds up generation
- doesn't change the original size of the picture even if other sizes are specified in the settings
If you use Inpaint area: Only masked, not the whole picture is used, but only part of it, so you may have trouble writing a prompt.